- Home
- Products
- Accessories & Options
- Automatic radius measurement system
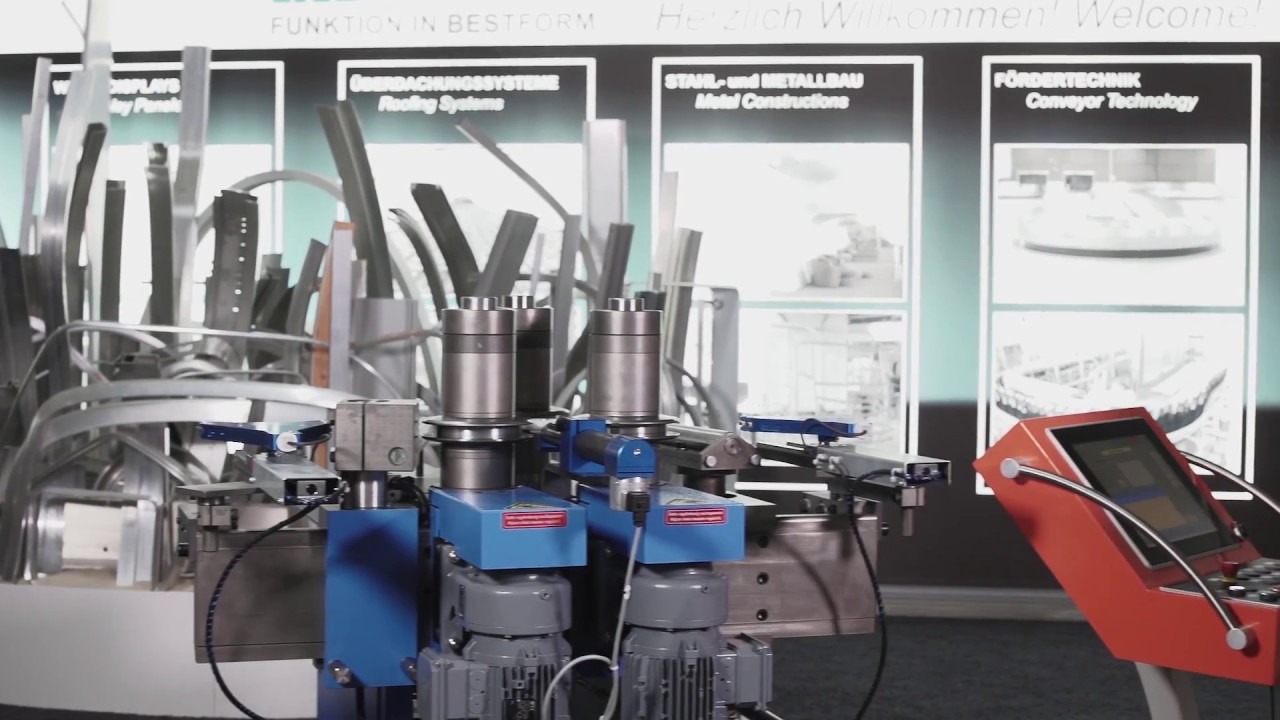
Using the automatic radius measurement system, even complex forms with demanding materials can be manufactured without many years of know-how. For many radii it is thus possible to achieve all nominal values without rejects and costly and time-consuming test runs. In most cases even changed material properties can be handled without any problems.
- Fully automatic radius measurement based on our PC400 control systems
- The pneumatic gauge heads can be positioned variably to the right and left of the bending rollers
- Measurement of one or more different radii in the same profile is possible
- Continuous and cyclical measurement of the actual manufactured radius possible
- After measurement of the actual manufactured radius, automatic correction takes place until nominal radius is reached
►


Your benefits
- Saves time – no monitoring of the bending process by machine operator required
- Saves resources – employees can focus on other tasks during the bending process
- Saves costs – batch-related deviations are a thing of the past


